
3 min read
Maximizing Cooling Efficiency: Why You Need a Spring HVAC Tune-Up
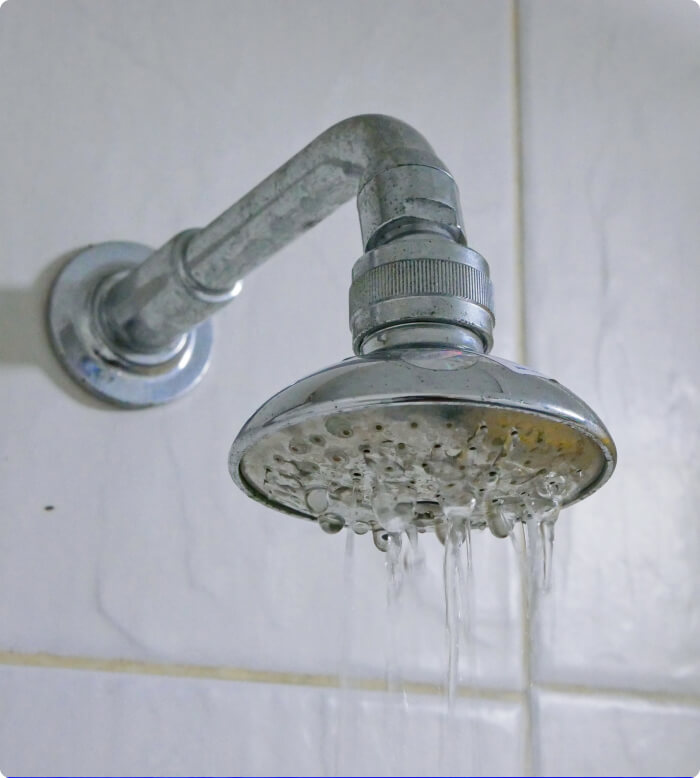
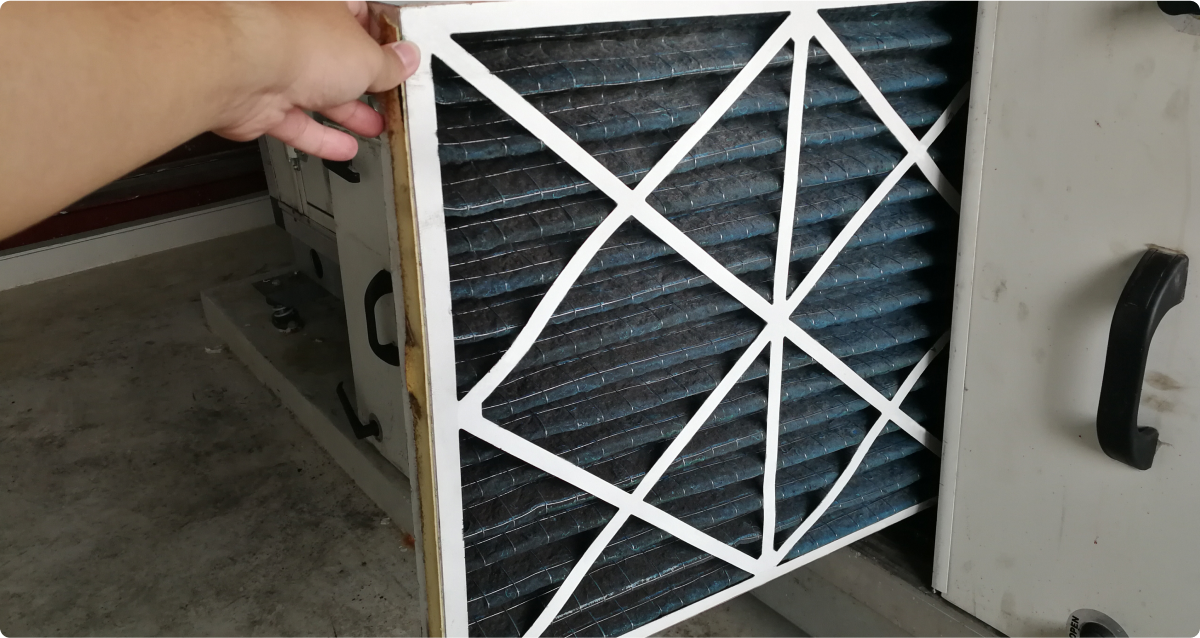
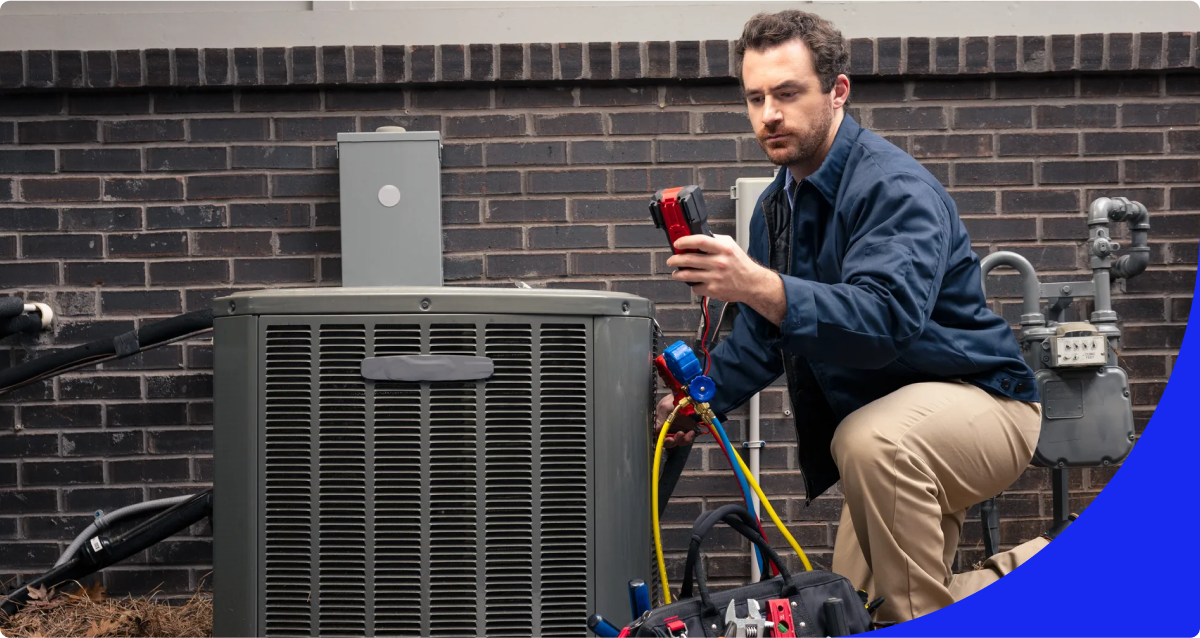
Transitioning from winter to spring brings fresh air, blooming flowers—and a wake-up call for your air conditioner. While you’re busy swapping sweaters for short sleeves, your heating and cooling system needs its own seasonal shift. That’s where a pre-season HVAC tune-up comes in.