Are Ceiling Fans Covered with a Home Warranty?

Ceiling fans are imperative to your bedrooms and living rooms when temperatures are warmer. Learn how home warranty coverage can help you save if your ceiling fans break down.
Ceiling fans are imperative to your bedrooms and living rooms when temperatures are warmer. Learn how home warranty coverage can help you save if your ceiling fans break down.
If you have ceiling fans in your home, you know what a big difference they can make to your comfort. In the summer, ceiling fans can make stuffy bedrooms more comfortable, and can even let you turn up the thermostat a few degrees by keeping your living room, bedrooms and other common spaces cool. Ceiling fans can keep your home warmer in the winter, too – just reverse the direction of the blades to blow hot air from the ceiling back down towards the room.
But, while ceiling fans can be a smart choice to cut down on heating and cooling costs without sacrificing comfort, they can still break down. When they do, ceiling fan repair costs can really eat into your budget. And what if you have to replace your fan? Do you know how to wire a ceiling fan? With an American Home Shield® home warranty plan, you can be confident that your ceiling fan is protected with our ceiling fan warranty coverage.
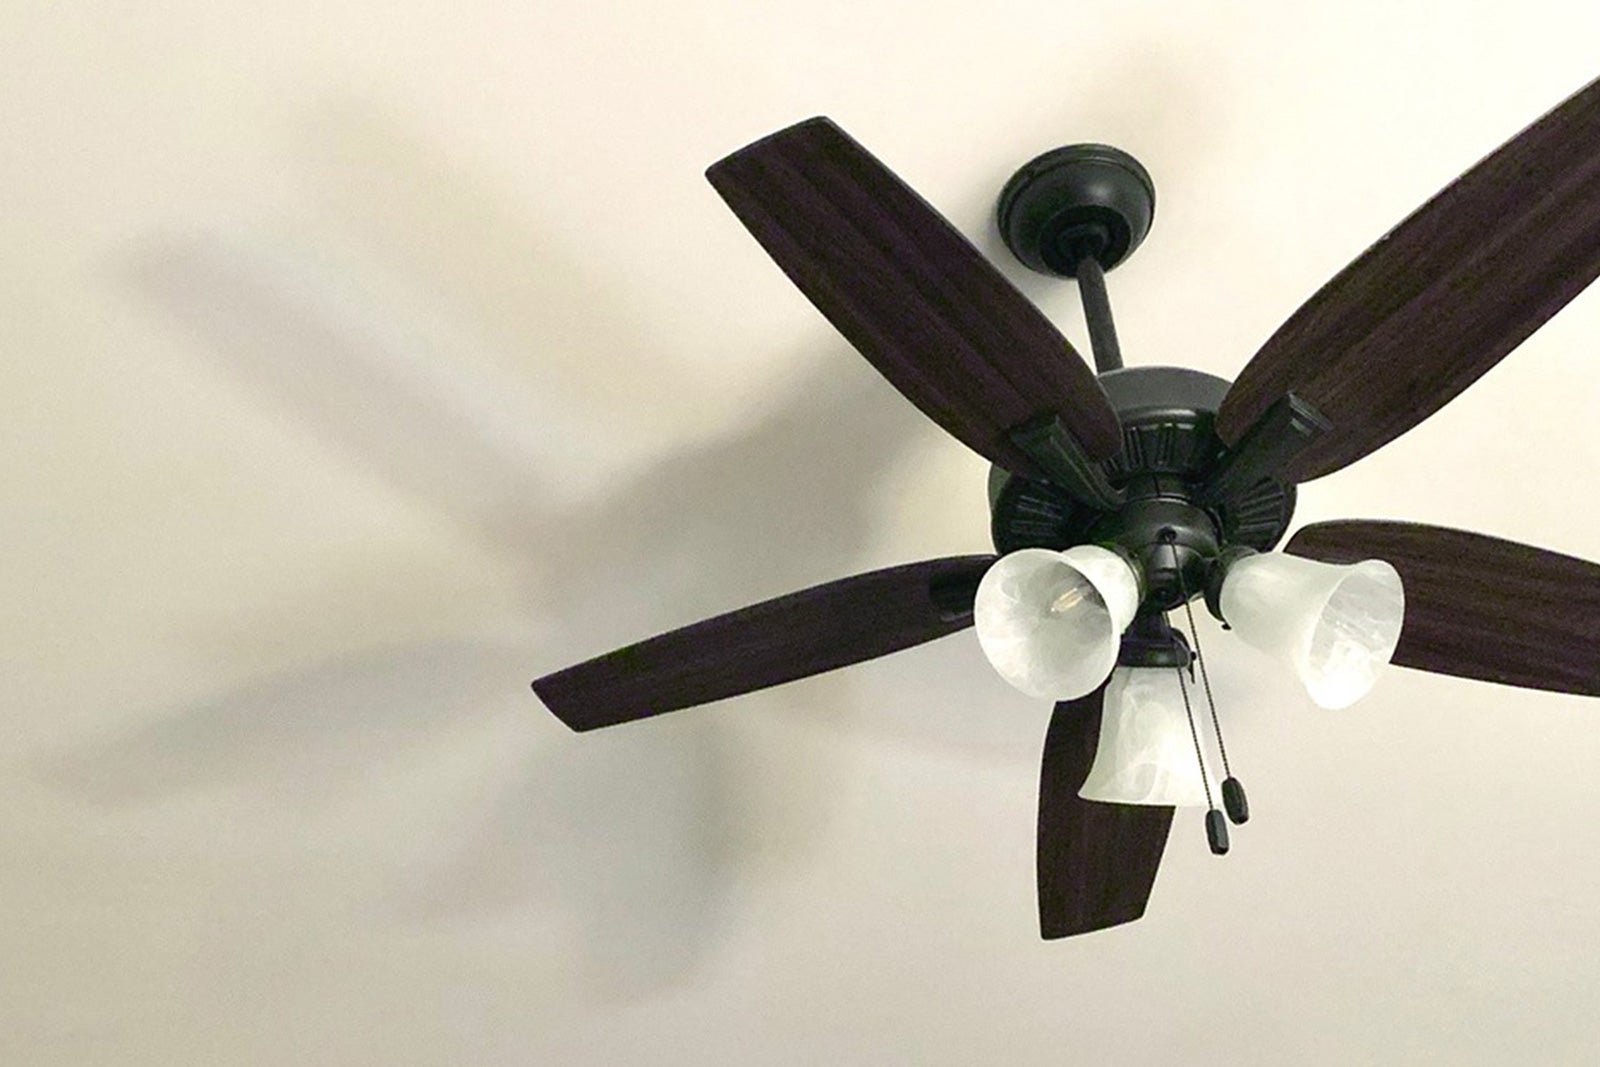
Common Ceiling Fan Problems
Ceiling fans circulate air in bedrooms and common areas, and they frequently also serve as light fixtures. As a result, your ceiling fan could develop problems with its light fixtures, the mounting hardware holding the fan in place, or the mechanical parts of the fan itself.
Common ceiling fan problems include flickering lights, which can indicate a problem with the connection in the light fixture, or perhaps the need to install a replacement ceiling fan light kit. If your ceiling fan is getting wobbly, it could be a sign of bent or loose connections in the down rod, blade brackets, or box screws, among other places.
A noisy ceiling fan could be the result of loose connections or parts or sticky ball bearings. A fan that gets stuck on one speed clearly needs some service, probably to clean and lubricate the ball bearings, or replace the capacitor or motor. A ceiling fan that won’t turn on at all could be the result of a blown circuit breaker, an overheated motor, faulty ball bearings or some other internal defect.
A protection plan can help cover ceiling fan breakdowns, so you don’t have to sweat it.

How to Use Your Home Warranty for Ceiling Fan Repair
You don’t need to get used to your ceiling fan only working on one speed, only working sometimes, not having any working light fixtures, being too noisy, or any of the other problems that might befall it. When your ceiling fan breaks down, simply place a service request and pay your preset service fee to have a Pro diagnose and repair your ceiling fan. You can request service online 24 hours a day, seven days a week.
Mix and Match Your Home Warranty Coverage
At American Home Shield, we want our members to be able to get exactly what they need from their home warranty coverage. That’s why we offer several types of plans. The ShieldSilver plan covers home systems like plumbing, electrical and HVAC.The ShieldGold plan provides coverage for components of your home’s important systems and appliances. So, if all of your appliances are new, but your home is older, you might go with the ShieldSilver plan. If you have both an older home and older appliances, as many homeowners do, you might go with the ShieldGold plan for complete protection.
At American Home Shield, we offer the home warranty coverage you need to protect your budget and many of the systems and appliances you use every day so won't feel blindsided by the cost of unexpected repairs.
AHS assumes no responsibility, and specifically disclaims all liability, for your use of any and all information contained herein.
Have a plan for your home when things don't go according to plan
Shop Home WarrantiesStaging